Android phones and tablets can fill up quickly as you download apps, add media files like music and movies, and cache data for use offline. Many lower-end devices may only include a few gigabytes of storage, making this even more of a problem.
The less space you have, the more time you’ll have to spend micromanaging the internal storage.
If you find yourself regularly running out of space and needing to manage it, consider getting a phone or tablet with more storage next time around.Use Android’s Built-in Storage Tool
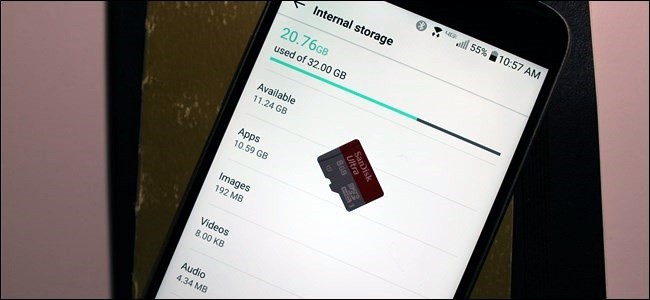
Modern versions of Android have a Storage pane that will show you exactly what is taking up storage on your device. To find this, open the Settings screen and tap Storage. You can see how much space is used up by apps and their data, by pictures and videos, audio files, downloads, cached data, and miscellaneous other files. The thing is, it works a little bit differently depending on which version of Android you’re using.
Android 8.0 Oreo
Google took a fundamentally different approach with Oreo than previous versions of Android by breaking down the Storage menu into a more granular list.
Where the list was grouped together by apps and then varying types of files in Nougat and lower (which we’ll talk about down below), Oreo does things a little differently by groups and files together by category. For example, when you open the “Photos & Videos” option, it doesn’t just show you which pictures and videos are taking up space on your phone, but any associated apps, as well—like photo or video editors.


Not all apps will fall into the predefined categories, so there’s a sort of overflow for everything else, called “Other apps.” Similarly, there’s a “Files” option that lists any file that doesn’t fall into another category.

Now, all that said, there’s actually an absurdly easy way to free up space in Oreo without having to dig through every menu entry: the big “Free Up Space” button at the top. Tap it.


Doing this will basically bring up a list of Downloads on your device, as well as any photos and videos that have already been backed up (this is a simple check option, not a full list), and any “Infrequently used apps” if applicable. Choose what you want to delete, and poof—free space in the house.
If that doesn’t clear up enough for you, however, then it’s time to dig through each option manually. Pay close attention to apps and how much data they’re storing—for example, apps like Google Play Music (or other music streaming apps) can store quite a bit of data as they stream. Clear that out to save yourself a ton of space.


Android 7.0 Nougat and Below
Once you’re in the Storage menu in any version of Android below Oreo, just tap an option to see exactly what’s using up space and delete it. For example, you could tap Apps to see a list of apps using up the most space and remove them. Tap downloads to view your downloads list where you can remove files and tap cached data to clear the data of all installed apps. Use the other options to view which files are taking up space and remove the ones you don’t want.


When dealing with apps, bear in mind that the app itself, its data, and its cache all add up to the total space used by the app. For example, if you have Spotify installed and you’ve cached lots of music offline, Spotify may be using over 1 GB of space. You could clear Spotify’s cache to forcibly remove this all, or launch the Spotify app and tell it to cache less data for offline listening. Any app that caches data for offline use will function like this. In the screenshot below, Google Play Music is only 40.66 MB in size on its own, but it’s storing 2.24 GB of cached music.
You can see how…
The post Five Ways to Free Up Space on Your Android Device appeared first on FeedBox.