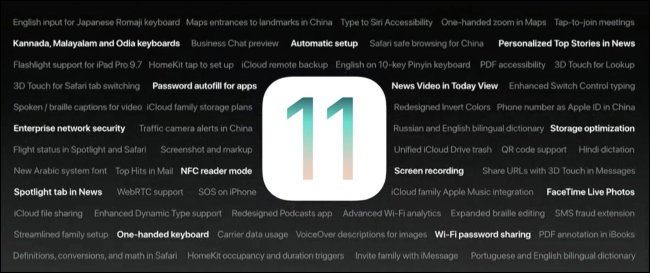
The public beta of iOS 11 is now available for iPhones and iPads. Anyone who wants to play with iOS 11’s new features can install it today. However, we recommend backing up your device first so you can easily restore the stable version of iOS 10 afterwards.
When to Update to the Beta (And When You Shouldn’t)

Before we proceed to even single step into this tutorial, let’s be perfectly clear: you’re signing up for a beta release. This means you’re getting unstable software. There will be crashes, frozen apps, quirks, and other hiccups. This stuff isn’t ready for prime time.
With that in mind, if you only have one iOS device and you rely on it for critical things like work-related apps, keeping in touch with hospitalized family, or any number of stability-is-key scenarios, you should wait for the public release of iOS 11 proper later in 2017.
Seriously, we mean it: Don’t install this on your primary device. If you have an iPhone you use for everything, don’t install it on that iPhone!
But, if you have an old iPhone or iPad you don’t use much and you’re ready for some bugs and crashes, then by all means proceed. You’ll get to try out all the features (and provide feedback on them) before the general public.
Ready to volunteer for unpaid beta testing? Let’s jump right in.
What You Need
To follow along, you need a few simple things. First and foremost, you need a compatible iPhone, iPad, or iPod Touch. Let’s break it down by device category.
Every iPhone from the iPhone 5s going forward is compatible with iOS 11, including the following devices:
- iPhone 7
- iPhone 7 Plus
- iPhone 6s
- iPhone 6s Plus
- iPhone 6
- iPhone 6 Plus
- iPhone SE
- iPhone 5s
The list gets a little harder to parse when we start talking about iPads, on account of different naming conventions. But, basically, you’re eligible if you have an iPad Air, iPad Mini 2, or newer:
- iPad Pro 12.9-inch 2nd generation
- iPad Pro 12.9-inch 1st generation
- iPad Pro 10.5-inch
- iPad Pro 9.7-inch
- iPad Air 2
- iPad Air
- iPad 5th generation
- iPad mini 4
- iPad mini 3
- iPad mini 2
Finally, you can install iOS 11 beta on the latest iPod Touch:
- iPod touch 6th generation
In addition to a supported device, we also strongly suggest you have a Windows PC or Mac running the most current version of iTunes in order to do a complete backup of your device in its iOS 10 state. This will allow you to downgrade back to your current iOS 10 state without losing any of your data.
Step One: Make a Backup of Your iPhone or iPad With iTunes
Why back up to a local machine? Even with a fast connection, pulling down a full iCloud backup can take a very long time for a phone with a lot of apps and storage. Further, you never have to worry about running out of space or your backup being overwritten when you have the extra space of a hard drive (compared to the very limited amount of space allocated to the free iCloud account). If you want to wipe your phone and go back to iOS 10, the process will take a few minutes if you have a local backup and, potentially, hours and hours if you have to do it over the internet.
In case we haven’t made it very clear by this point: back up your device to iTunes before proceeding.
Don’t remember how? Don’t worry. These days, many iOS users never even look at iTunes, so you’re probably not alone. To back up, run iTunes and plug in your iOS device with the sync cable—that’s the USB cable you use to charge your device. You may need to click “Allow” in iTunes and then tap “Trust” on the iPhone or iPad if you’ve never connected it to iTunes on your computer before. Look for the device icon near the upper left corner of the iTunes interface and click on it.
In the device “Summary” page, which is open by default when selecting the device, scroll down to the “Backups” setting and check “This…
The post How to Install the iOS 11 Beta on Your iPhone or iPad appeared first on FeedBox.