Author: Brady Gavin / Source: How-To Geek
The DIR command is a powerful Windows Command Prompt function that lists all files and subdirectories contained in a specific directory. The DIR command also offers some switches that unlock some powerful functionality. Let’s take a look.
DIR Command Switches
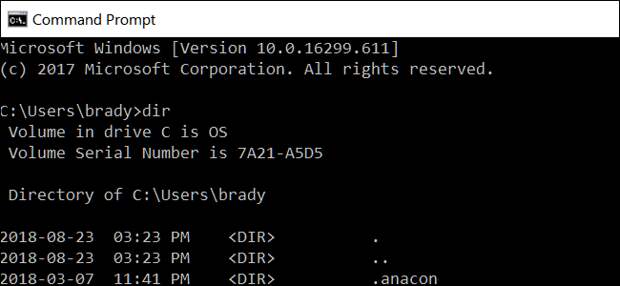
You can use the DIR command by itself (just type “dir” at the Command Prompt) to list the files and folders in the current directory.
Display Based on File Attributes
You can add “/A” followed by a letter code after the DIR command to display files with a specific attribute. These letter codes include:
- D: Displays all directories in the current path
- R: Displays read-only files
- H: Displays hidden files
- A: Files that are ready for archiving
- S: System files
- I: Not content indexed files
- L: Reparse points
So, for example, to display just the directories in the current path, you’d type the following command and then hit Enter:
dir /ad
You can combine those codes, too. For example, if you wanted to show only system files that are also hidden, you could use the following command:
dir /ash
You also can add a “-” (minus) in front of any of those letter codes to specify that the DIR command does not show that kind of file. So, for example, if you don’t want to see any directories in the results, you could use this command:
dir /a-d
One more tip: Instead of cramming the main switch and the letter code together the way we did in our examples, you can use a colon to separate the switch from its optional codes. Like this:
dir /a:d
It can make things a little easier to parse, but it’s entirely optional.
Display Stripped Results
Using the /b switch with the DIR command strips away all excess information, displaying only the name of the folders and files in the current directory and not attributes like file size and time stamps.
dir /b
Display Using Thousands Separator
In modern versions of Windows, the Command Prompt shows large numbers separated by commas (so: 25,000 instead of 25000). This wasn’t always the case. In older versions, you had to use the /c switch to show those commas.
Why bother including it here if it’s already the default? Because if for whatever reason you don’t want to show those commas, you can use this switch along with the “-” minus sign:
dir /-c
Display Results in Columns

You can use the /D switch to display results in two columns instead of one. When you display results this way, the Command Prompt does not show extra file information (file size and so on)—just the names of the files and directories.
dir /D
Display Results in Lowercase
The /L switch displays all names of files and folders as lowercase.
dir /L
Display Filename Results on the Far Right

By default, the Command Prompt displays the names of files to the far right. The /N switch used to be used to achieve this effect. Now, you can use it along with a “-” (minus) to have filenames displayed on the far left…
The post How to Use the DIR Command in Windows appeared first on FeedBox.