Author: Chris Atkinson / Source: wikiHow
In this Article:Article SummaryTaking Off the WheelRemoving the Tire and TubeInserting a New Bicycle TubePutting Your Tire Back on Your BikeCommunity Q&A21 References
Having a flat bicycle tire can leave you stranded, but it’s simple to replace the tire yourself.
Usually, this just means replacing the tube inside the tire. However, you may need a new tire if it’s very damaged or worn. Before you replace the tire, you’ll need to take it off. Then, replace the tube and tire, if necessary. Finally, put the tire back onto the wheel.-
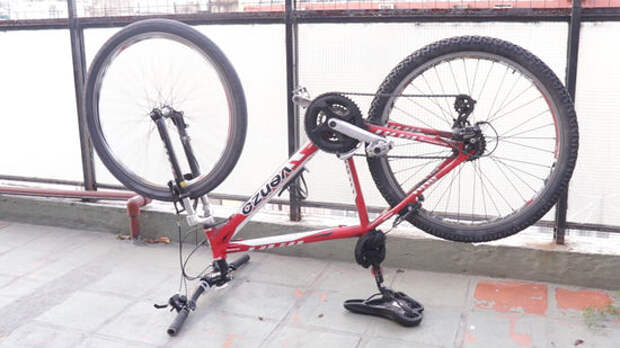
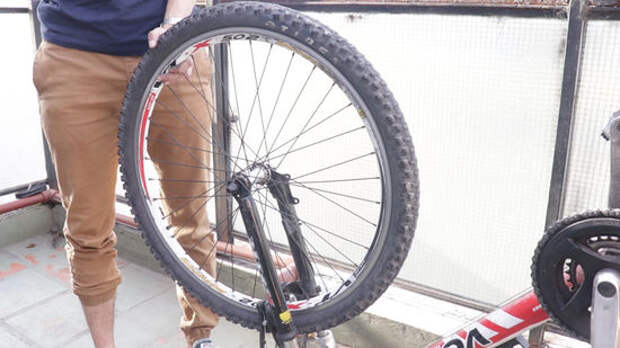
1 Put your bicycle on its side with the chain facing up. You can’t remove a tire while the bicycle is upright because it will fall over. The chain side, which is called the driving side, should always face up to avoid damaging it.
- You can also turn the bike upside down, resting it on its handlebars. Some people don’t like turning it upside down because the handlebars or seat can get damaged.[1]
- As another option, you can invest in an upright bike stand that will hold your bicycle while you work on it. You can find these stands at some bicycle stores or online.
-
2 Adjust your gears to the smallest ring if you’re removing the back tire. Usually, this will be the outer gear. Setting your chain on this outer, smaller gear will make it easier to remove the rear tire.[2]
- You don’t need to adjust the gears if you’re removing the front tire.
-
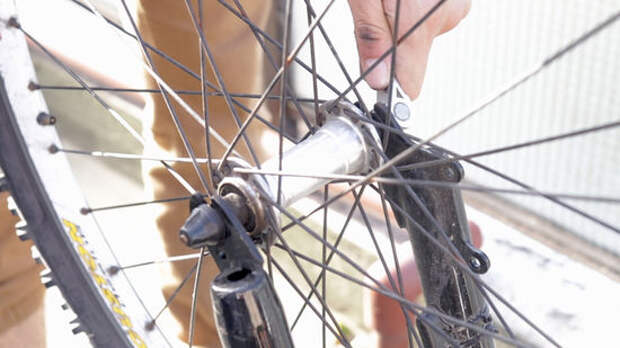
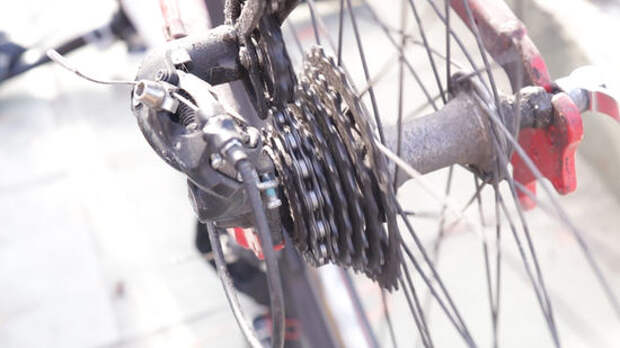
3 Open and remove the quick release lever, if your bike has one. Look for the quick release lever at the center of your bicycle wheel.
Pull up on the lever, then turn it 180 degrees to loosen it. Remove the lever from the axle and set it aside.[3]- If your quick release lever doesn’t come off after you turn it 180 degrees, keep turning it until you can remove it.
- If you’re not sure how to remove your bicycle tire, it’s best to check your bicycle manual or the manufacturer’s website.
-
4 Use a wrench to loosen the nuts if you don’t have a quick release lever. Hook the wrench onto the nut, then turn to loosen it. Continue turning the nut until it comes off. Remove the wheel nuts on both sides of the bike.[4]
- If you can’t get the nut loose, you can spray it with WD-40 or cooking spray to make it easier to loosen it.
- A 15mm wrench is usually the correct size for loosening the nuts on a bicycle.
-
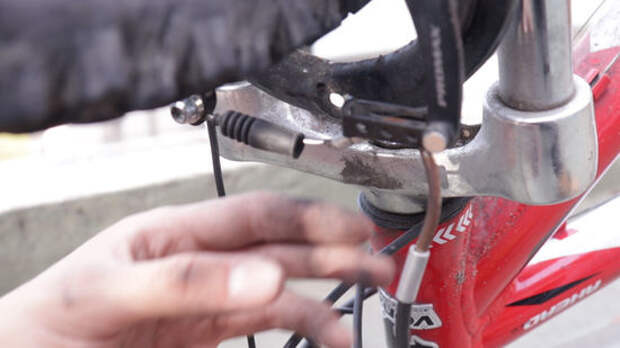
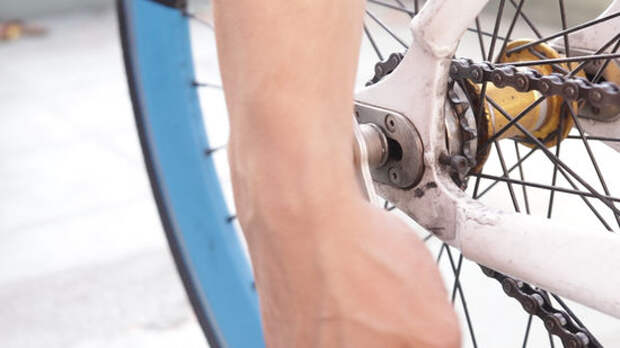
5 Detach the brake cables if necessary. In many cases, opening the quick release lever also detaches the brakes. If your model doesn’t have this feature, squeeze the calipers on the brakes to release the cables.[5]
- Check your bicycle manual or the manufacturer’s website if you’re having trouble detaching your brakes. Instructions vary for different bike models.
-
6
-
1 Deflate the tire completely. Loosen the cap on the air valve. If it comes completely off, set the cap aside. Release the air using the correct procedure for your air valve type. This will make it easier to remove.[7]
- If your bicycle has a Schrader (American) valve, use a small tool, such as your wrench, to press down on the plunger inside the air valve to release the air.
- If you have a Presta valve, unscrew and pull up on the valve cap to release the air.
- If you have a Dunlop valve, take off the cap, then pull up on the air valve to release the air.
-
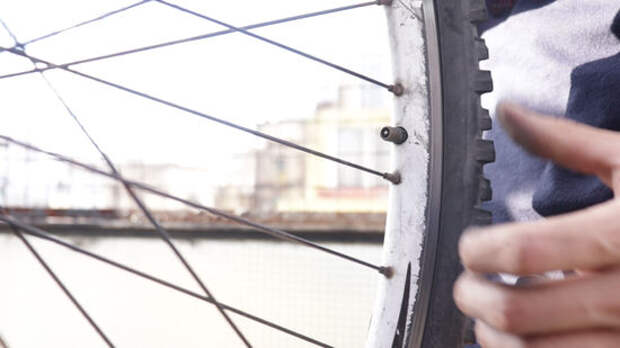
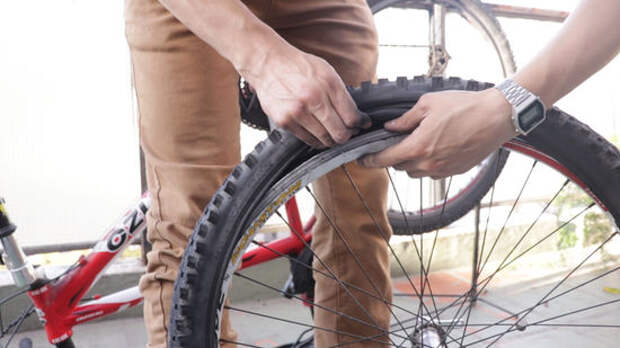
2 Hook the rounded edge of a tire lever under the outer edge of your tire. This will pop up the edge of the tire, releasing it from the frame. Pull the other end of the lever down toward the spokes. Next, hook the other end of the lever onto a wheel spoke to keep the edge of the tire popped up.[8]
- If you don’t hook the other end of the lever onto a spoke, your tire will go back into place and reseal itself around the wheel.
- The outer edge of a bicycle tire is called a “bead.”
- You can find inexpensive tire levers at a bicycle store, outdoor store, or online.
- You may be able to remove your tire with a spoon or screwdriver, but they can damage your tire.
-

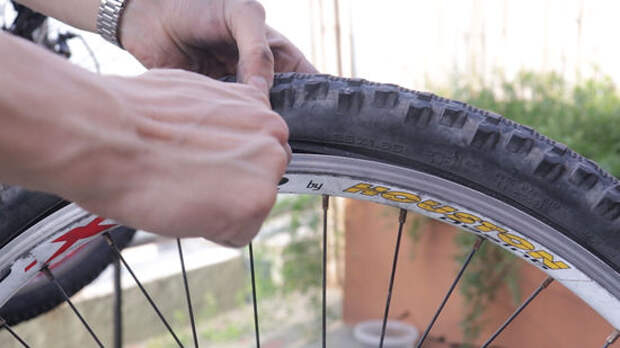
3 Work a second tire lever clockwise around the circumference of the tire. Insert the second lever near the first one, then press up on the tire. Move the lever clockwise around the tire, pushing up on the tire as you go. Keep going until the entire side is loosened from the frame.[9]
-
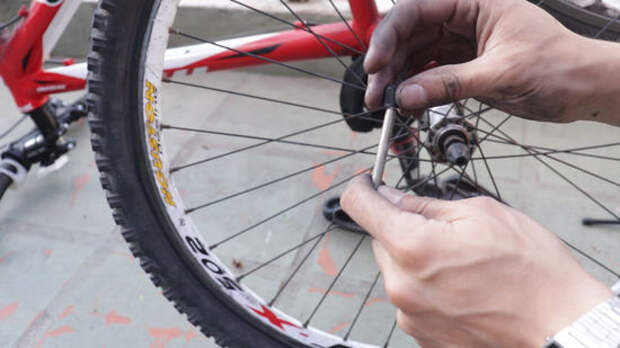
4 Pull the tube out from inside the tire. Insert your fingers under the side of the tire. Grab the tube and slide it out. When you reach the air valve, push it through the hole on the wheel frame, then continue removing the tube.[10]
- You can discard or recycle the tube.
-
1 Unwrap the tube and remove the dust cap, lock ring, and valve cover. Carefully unfold the tube, making sure you don’t damage it. A dust cap and lock ring may be on your air valve,…
The post How to Replace a Bicycle Tire appeared first on FeedBox.