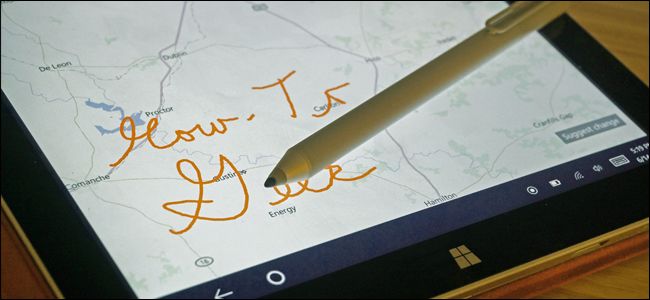
Microsoft’s Surface Pen, included on most of its first-party Surface machines, is one of the nicer options as far as modern touch screen styluses go. The latter version of the Pen, introduced with the Surface Pro 3 and subsequent models, includes a few customization options that weren’t present before.
Here’s how you access them.First: Install the Surface App
If, for some reason, your Surface doesn’t have the Surface control app, you’ll want to install it now. Open the Start menu, then tap “Store” to access the Windows 10 app store. (If it’s not on your main Start page, just type “store” to search through the menu.)
Tap the Search button and type “Surface,” then press Enter.” Scroll down until you see the Surface app icon—it’s a blue square— and click on it. Tap the “Install” button, then proceed to the next step.
Adjust Pressure Sensitivity
Open the Surface app and tap the pen icon on the left-hand column. Here you can adjust the pressure sensitivity of the pen’s tip. “Pressure” is something of a misnomer—it’s all digital, after all—and what’s really happening is an adjustment to how the Surface interprets a harder or softer push on the tip mechanism.
The Surface Pen attempts to emulate the way a real pen works: press down harder and you’ll get a thicker, wider stroke, press softer and you’ll get a fine line. The linear adjustment of this setting changes that sensitivity—use the testing area to the right to see an immediate example.
At the hardest and softest settings, you still should still be able to see what you’re writing. Once you’re done, close the Surface app.
Tweak Other Settings
Open the main Settings menu via the Start button, or by swiping from the right side of…
The post How to Customize the Surface Pen Stylus appeared first on FeedBox.