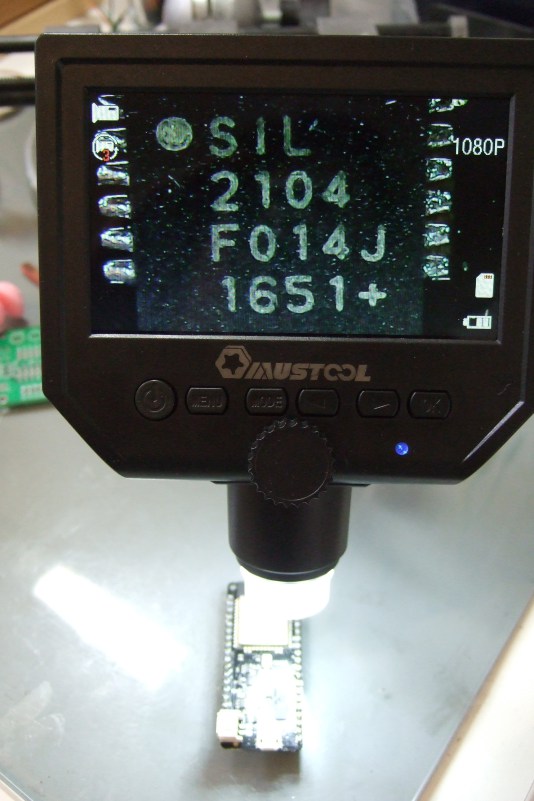
Sometimes I need to be able to take photographs of very small things, and the so-called macro mode on my point-and-shoot camera just won’t cut it. And it never hurts to have an inspection scope on hand for tiny soldering jobs, either, though I prefer a simple jeweler’s loupe in one eye for most tasks.
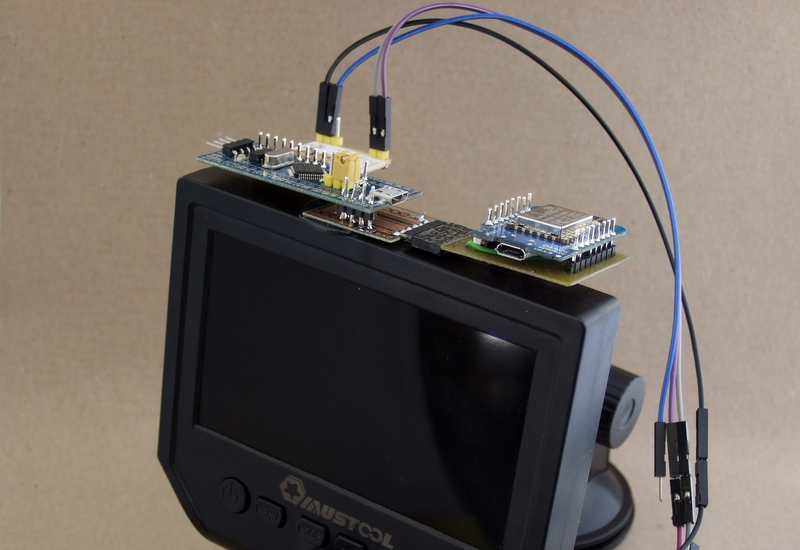
So I sent just over $40 off to my close friend Alibaba, and a few weeks later was the proud owner of a halfway usable inspection scope that records stills or video to an SD card.Unfortunately, it’s only halfway useable because of chintzy interface design and a wobbly mount. So I spent an afternoon, took the microscope apart, and got it under microcontroller control, complete with WiFi and a scripting language. Much better! Now I can make microscope time-lapses, but much more importantly I can take blur-free photos without touching the wiggly rig. It was a fun hack, so I thought I’d share. Read on!
Out of the Box

The scope, as it arrives, is really fun. The image is just fine and most everything works as advertised. Looking at bugs and flowers was good for a few hours at least. However, all of the small details that make for a pleasant user experience are botched.
For instance, the clearance on the SD card is so tight that you can’t insert or remove it without something thin to press it in, or having very long fingernails. Some of the buttons are hard to reach behind the big focus knob. The menu system, to turn on or off the LED ring light for instance, is horrendous.
These are minor quibbles, and for the price I’m totally willing to overlook them.But the killer, for my purposes, is that the stand is so wobbly that the act of pressing the “OK” button to take a picture blurs whatever image was there. The video mode has a “motion detection” method — it’s always on because the camera wobbles so much that it always thinks the object has just moved. The culprit is the cheesy frame that ends in a thick silicone suction cup that wiggles around like a bowl of jelly. This is not how you design tripods.
There are two possible fixes for the vibration issue. The first is to build a better frame, and that’s something I’ll probably end up doing eventually, because the inspection scope is a useful piece of gear. The other solution is simply to trigger the exposure (and other) buttons without touching the wiggly little beast. Welcome to the Internet of Microscopes!
Hack, Hack, Hack

Opening up the case, the first thing I found was a row of five test points on the key panel, so I soldered some header wires to them to see what’s up. (That was easy!) They’re labelled GND, VCC, KEY, PWR, and VBAT, which doesn’t leave much to the imagination. Four out of the five are labelled correctly.
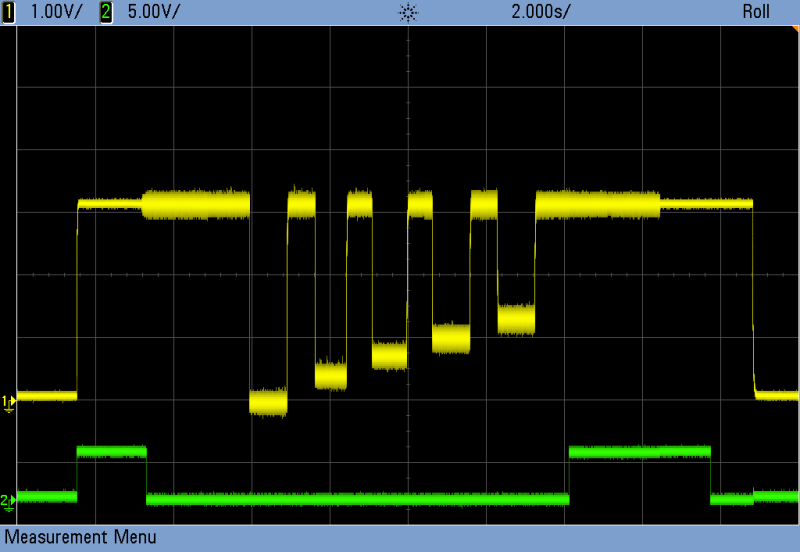
I’m an analog hacker at heart, and I usually start off with an oscilloscope when poking around unknown signals, but I decided to start off with a logic probe this time, because surely the single KEY line was encoding the five front-panel buttons in some sort of digital code. Imagine my surprise when each button press looked identical on the logic sniffer. Burned again. Back to the trusty oscilloscope.

It turns out that the five buttons are tied to five different resistors that serve as the lower half of a voltage divider, and an ADC reads…
The post Hacking an Inspection Microscope appeared first on FeedBox.