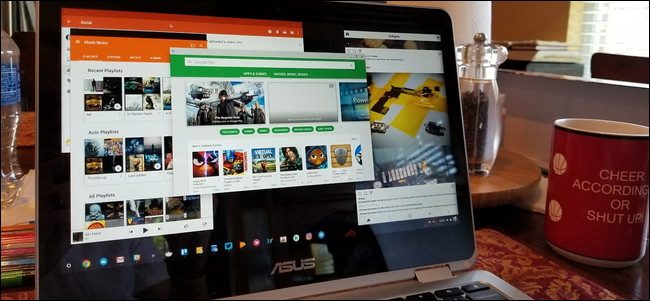
Android support on Chromebooks started with Android 6.0, which only allows apps to run in full-screen mode, or a smaller static size. This isn’t the best layout for many apps on Chromebooks, and Google finally changed this with Android 7.1.1. The thing is, resizing doesn’t work out the gate—there are a few tweaks to get it working.
Step One: Verify Which Version of Android Your Chromebook Is Running
Before you get your hands dirty, you’ll want to first make sure your Chromebook is even running an Android build that offers resizable apps.
First, click the system tray, then the gear icon.

From there, scroll down to the “Google Play Store” section and click it.

Click “Manage Android preferences,” which will launch the Android settings menu.

From there, just scroll to the very bottom—you’ll see the Android version under the About Device section.

If your Chromebook is running 6.0, you’re pretty much stuck with what you have for now. Sorry.
If you’re running 7.1.1 or above, however, read on.
Step Two: Enable Developer Options
While you’re already in the Android Settings menu, let’s go ahead and enable Developer Settings. You’ll need to do this in order to resize apps.
Click into the About Device menu.

From there, click the “Build number”…
The post How to Resize Android Apps on Chromebooks appeared first on FeedBox.