Back at Google I/O 2017, Google announced a new feature in Google Photos called “Shared Libraries”. In a nutshell, this allows users to quickly and easily share photos with other, specific users automatically. This feature is now live—here’s everything you need to know about getting it going.
What Are Shared Libraries?
While we’ve already given the “feature in a sentence” look at what Shared Libraries are, there’s definitely more discussion to be had here.
Basically, if there are specific people you constantly share pictures with—like pics of the kids with your significant other, for example—Shared Libraries let you do this without even thinking about it. You can share all your photos, or even pick photos of just specific people to share. You can even set the date in which to start sharing from—this way people don’t see photos that are older than you’d like.
With sharing, you have full control over what you share and when you share it—you can stop sharing at any time, and you can also modify what you’re sharing. For example, let’s say you start off sharing all your photos with your significant other, but then realize that they don’t need to see every single stupid thing you snap—you can easily change it to only share pictures of the kids or the dog, or some other third thing you both like.
Before You Get Started
Before you share your library, you may want to tell Google Photos who certain people are. This will make it easier to define what images get shared one which ones stay private.
I recommend both you and the person you’re going to share with do this—you’ll see why down below.Note: I’m using Google Photos 3.0 here, so things may look a little bit different. If you’re not on the newest version of the app, you can grab the APK from here. Shared Libraries seem to be a server-side switch, so they may not be available on your account, regardless of which version of the app you’re on.
First, open Google Photos, then select “Album.”

Choose “People.”

Tag anyone you’d like here, but pay specific attention to those that you think you’d like to share pictures of. If you’re on the receiving end of a shared library, then you’ll want to tag the pictures of people you may want to automatically save. Again, more on that below.
Once you have that set up, you’re ready to start sharing.
How to Share Images Using Shared Libraries
Now that you have all your tagging out of the way, it’s time to start sharing your library. This part is super easy.
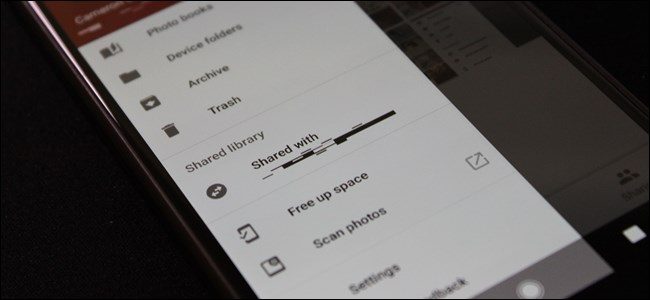
With Photos open, slide in from the left side of the screen to show the menu. You should see a new option titled “Share your library.” Tap that.
A cute little splash window will show up, just tap “Get started” to, um, get started.
The post How to Set Up and Use Google Photos’ New Shared Libraries appeared first on FeedBox.