Your computer is fast. Unbelievably fast, at least compared to the PC you had ten or twenty years ago. But it could always be a little bit faster. If that statement stirs a bit of tech-flavored longing in your soul, you might want to look into overclocking your processor.
Overclocking, the act of boosting your CPU’s core clock beyond its factory setting, has been around for almost as long as personal computers have. And as a hobbyist activity, the process and its tools are almost constantly in flux. That being said, it’s easier now than it’s ever been.
Since our test rig uses an Intel processor and motherboard, and Intel is still far and away the leader in consumer-grade desktop systems (being installed in over 80% of systems), this guide will cover the overclock process for late-model Core unlocked (K-series) CPUs. But the general steps should apply to most of the desktops sold or assembled in the last few years. That said, make sure and read up on the process for your specific hardware before starting your overclock attempt.
Step One: Pick the Right Hardware
Before you start overclocking, you’ll want to make sure you have the right hardware. If you’ve already bought or built your PC, you may not be in a position to do this, of course, but it doesn’t hurt to know your hardware’s limitations all the same.
Processor
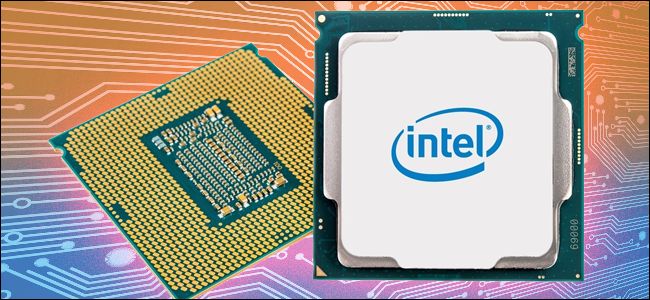
Intel sells a staggering variety of processors, but for overclocking, the K- and X-series is where it’s at. The “K” in this sense is more of a variable than an actual product line, signifying that the processor is “unlocked” and ready to be overclocked by the end user. There are options in i7, i5, and i3 models, and all of the newer and ridiculously powerful X-series are also unlocked. So if you’re shopping for an Intel processor and you know you’re going to try to overclock it, you want either a “K” or an “X” chip—the latest ones are all handily listed on this page. We’ll be using a Core i7-7700K for this guide.

Is it possible to overclock a non-K Intel processor? Sometimes. It’s just harder, and it’ll probably need some support from your motherboard manufacturer. Also, Intel really doesn’t want you to do it—to the point that they’ve actually issued software updates that closed previously-found loopholes enabling it. This policy is controversial among PC hardware enthusiasts.
I should also mention a concept known among enthusiasts as the “silicon lottery.” The microarchitecture of modern CPUs is incredibly complex, as is the fabrication process. Even if two CPUs have the same model number and should theoretically be identical, it’s entirely possible that they’ll overclock differently. Don’t be upset if your specific CPU and setup as a whole can’t hit the same overclocking performance as someone reporting their results online. This is why it’s incredibly important to go through the long, arduous process yourself instead of just plugging in someone else’s settings—no two processors will overclock the exact same.
Motherboard
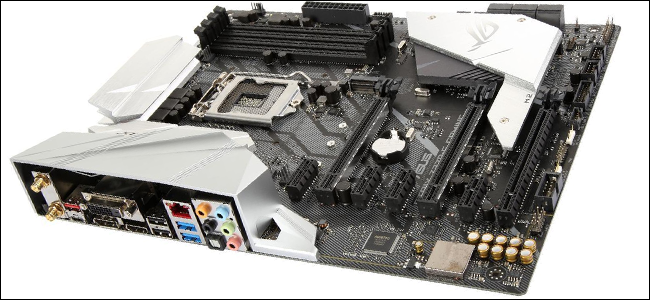
Next, you’ll want to make sure your motherboard is up to snuff. Technically, any motherboard should be able to overclock its processor, but some are designed specifically for the process and some aren’t. If you’re in a position to choose, look for an enthusiast or “gaming” motherboard. They’re a little pricier than more pedestrian models, but they have access to UEFI/BIOS updates and manufacturer software specifically designed to make overclocking easy. You can also often find Newegg reviews that discuss a motherboard’s overclocking settings, and the quality thereof. Enthusiast and gaming motherboards from ASUS, Gigabyte, EVGA, and MSI are good choices in this regard.
Oh, and this goes without saying, but I’ll say it anyway: you need a motherboard with a socket that’s compatible with your CPU choice. For Intel’s latest unlocked processors, that’s either socket LGA-1151 (K series) or LGA-2066 (X series).
CPU Cooling
Even if you’re starting from an existing system that wasn’t built with overclocking in mind, you’ll want to use an aftermarket CPU cooler. These parts are much more powerful and efficient than Intel’s in-box coolers, featuring bigger fans and vastly expanded heatsinks. In fact, the Intel processor we bought for the test system didn’t even come with a stock cooler, because Intel assumes anyone interested in that premium unlocked model will want to use their own aftermarket cooler.
The options for CPU coolers are staggering, even if you don’t want to go for the more premium water cooling option. You can spend anywhere from $20-100 for an air cooled version, and much more for elaborate liquid cooling options. But if you’re on a restrictive budget, there are more than a few economical options. The cooler we’ll be using is the Cooler Master Hyper 612 V.2, which has a street price of just $35 and will fit inside most full-sized ATX cases. We could probably get better results with a more expensive and elaborate model, but this one will let us boost our clock rates dramatically without getting into unsafe temperature ranges.
If you’re picking out a new cooler, aside from price you’ll need to consider two variables: compatibility and size. Both air coolers and liquid coolers need to support the socket type of your motherboard. Air coolers also need the physical space available inside your PC case, especially vertical space (measuring from the top of the motherboard to the side of the case). Liquid coolers don’t need much space around the CPU socket, but they do need available space near the case fan mounting areas to fit their fans and radiators. Double-check the specs of your prospective purchase and your PC case itself before making a decision.
If you’ve made your selections, make sure everything is installed and working correctly without any overclock applied, then continue.
Step Two: Stress Test Your Setup
We’re going to assume you’re starting with everything relating to your CPU set to the default. If you don’t, boot up into your computer’s UEFI now (better known as the BIOS) and change it back. You can do this by rebooting the computer and pressing the relevant button on the POST screen (the one with the motherboard manufacturer logo). This is usually Delete, Escape, F1, F12, or a similar button.
Somewhere in your UEFI/BIOS settings, there should be an option to set everything back to the default value. On our test machine running a Gigabyte motherboard, this was under the “Save & Exit” menu, labeled as “Load Optimized Defaults.” Select this option, wherever it is, save your settings, then exit the UEFI.
There are a few other changes you should make too. On our i7-7700K, in order to get…
The post How to Overclock Your Intel Processor and Speed Up Your PC appeared first on FeedBox.