Technology is designed to serve us and make our lives better. When a device gets outdated, it is either disposed of or is buried in a pile of junk never to be seen again. However, some individuals tend to develop a certain respect for their mechanical servants and make an effort to preserve them long after they have become redundant.
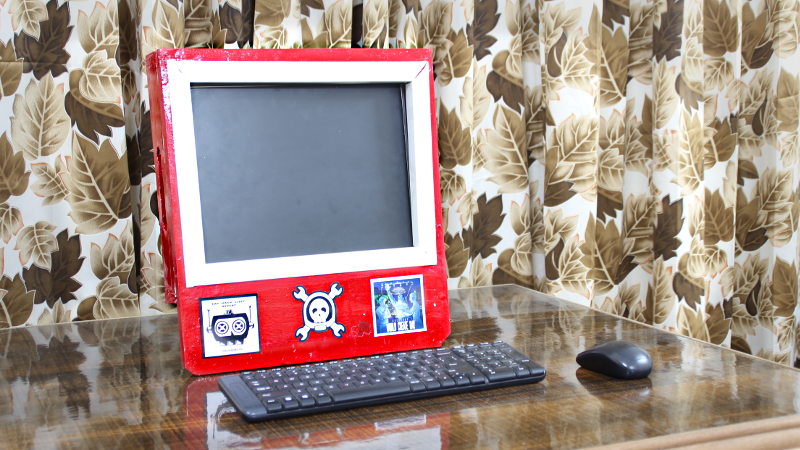
My relationship with my first laptop is a shining example of how to hold onto beloved hardware way too long. I converted that laptop into a desktop with a number of serious modifications which helped me learn about woodworking along the way. Maybe it’s more pragmatic to just buy new equipment. But you spend so much time each day using your devices. It is incredibly satisfying to have a personal connection that comes from pouring your own craftsmanship into them.
Why the Effort?

The laptop in question is an IBM R60 which I lugged around during the first three years after I graduated. It was my companion during some tough times and naturally, I developed a certain attachment to it. With time its peripherals failed including the keyboard which housed the power switch and it was decided that the cost of repair would outweigh its usefulness.
Then came the faithful day when I was inspired to make something with the scrap wood that had accumulated in my workshop. This would be my second woodworking project ever and I did not have the professional heavy machinery advertised in most YouTube videos. Yet I had two targets in mind with this project.
- Make the R60 useful again.
- Learn about woodworking for creating enclosures for future projects.
Armed with mostly hand tools, a drill and a grinder that was fitted with a saw blade, I started with the IBM R60 to all-in-one PC mod. Following is a log of things I did and those I regret not doing a.k.a. lessons learned. Read on.
Patience Is Power
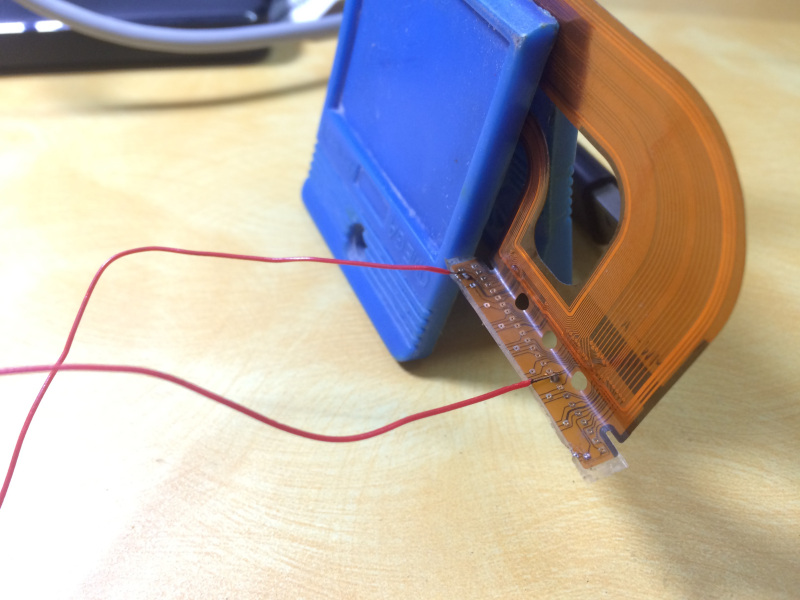
First things first. Since the keyboard is dead and the power switch is on the keyboard, I needed to figure out a way to turn it on. After a short Google search that turned up nothing useful, I decided to trace out the pins on the keyboard connector that could be used to trigger the operation. Trial and error resulted in the isolation of the two pins that were the key.
I ripped out the ribbon cable from the faulty keyboard and was able to solder two wires to the appropriate contacts. A PCB mount push button was chosen because my intention was to mount it to the side of the chassis. In the video below, you can see that the hack works as expected.

Hot glue is so useful in such cases and I applied generously to the cable to tack it along the chassis as well as the edge where the button finally rests. That solves the power-up problem and I intend to use an external mouse and keyboard for the finished system.
Cuts and Bruises
It is evident that the hinges had to be removed in order to be able to fold the display backward, however, another challenge awaited. The ribbon cable that connects the display to the motherboard is not designed to wrap around the enclosure like I planned and is shorter than I would have like; much shorter.
Instead of discarding the chassis and LCD covers, I made the choice that involved power tools. The idea was to cut a slot in the main chassis so as to allow the cable to easily reach its destination. After unscrewing the connector and removing it, I carefully made the necessary incision.
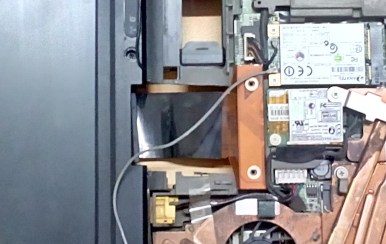
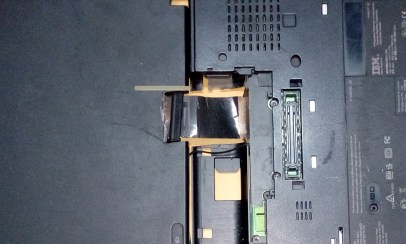
A cut in the battery slot, as well as the LCD back cover, was necessary and though it may not be the cleanest, it did work out. My concern here was the cable itself and as you can see in the picture above, it suffered a bit of damage.
Evolution of the Enclosure Concept
The next part was the creation of an enclosure and I wanted to use the scrap wood I had lying around. I am not an experienced carpenter, to say the least. In fact, this was my second woodworking project and I used mostly manual tools for the project. The largest part is the LCD and I took some measurements to see if I could make a small box-like enclosure.
The result was something that did not resemble an enclosure, however, I am sharing the image here because…
The post Wooden Laptop Enclosure: New Life for Old Thinkpad appeared first on FeedBox.