Author: Michael Crider / Source: howtogeek.com
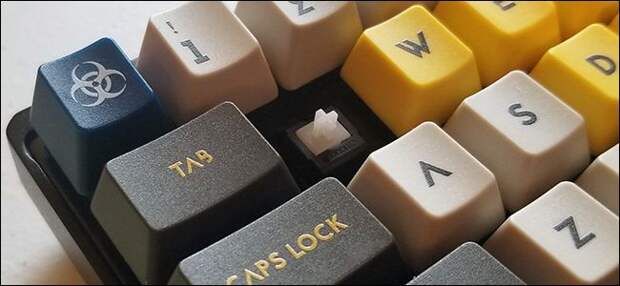
Mechanical keyboards are generally touchier than their counterparts, and occasionally a switch will falter. Here’s how to replace it without ditching the keyboard. It takes some tools and a little know-how, but you can absolutely do it.
To take out a switch and install a new one, you’ll need to be able to open the keyboard itself to access the printed circuit board, de-solder the malfunctioning switch with a soldering iron and pump, remove the switch and insert a new one, and finally, solder the new switch into place.
If you’ve never soldered anything before, don’t worry. While it helps to have a bit of soldering experience, the soldering you’ll be doing here is pretty straightforward.What You’ll Need
Before you begin, you’ll need the following parts and tools:
- Soldering iron
- Solder pump
- Electronics-grade solder ($8)
- Keycap puller tool ($6)
- Compatible replacement mechanical keyboard switch
- Small screwdriver and/or pry bar to open the keyboard case
- Small tweezers or pliers
- Compatible LED and wire cutters (if the keyboard is lit)
If you don’t already have access to the soldering tools, you can pick up a soldering iron kit that includes the iron, pump, stand/holster, tweezers, and several different tips for less than $20.
WARNING: soldering irons operate at temperatures hot enough to severely burn skin and start fires. Always use caution when operating them, and never leave an active soldering iron outside of its holster. If you continue with this guide, you do so at your own risk.
This guide presumes a basic knowledge of soldering techniques. It’s not particularly hard if you’ve done some work with electronics before, but if you’re not up to speed, check out this article to get informed.
RELATED: How to Use a Soldering Iron: A Beginner’s Guide
Selecting the Right Replacement Switch
Before we start, you’ll need to find a replacement switch for the key that’s malfunctioning.
This is more complex than you might think. If your board uses Cherry MX Blue switches, you just have to find another Cherry MX Blue switch, right?Broadly speaking, yes. Matching the manufacturer and “color” of the switch is the biggest part of getting the feel of the switch right. But you’ll also need to match the specific switch to your specific board. The next big choice is the mount style.
This is referred to as PCB or plate mount: different switch housings are designed to be inserted directly into the keyboard’s circuit board, or onto a metal or plastic plate that sits above the circuit board to protect it. On the left in the image below is a keyboard with plate-mounted switches; on the right, a keyboard with PCB-mounted switches.
PCB-mounted switches include two extra plastic prongs on the bottom for added stability, which aren’t needed for plate mounts. You can generally install a PCB-mounted switch onto a plate keyboard without issue—even if the extra plastic prongs are in the way, you can snip them off and sand them down. But you shouldn’t install a plate-mounted switch directly to the PCB because it will be unstable and more likely to malfunction.
Now let’s talk LEDs. If your board includes lighting, you’ll need to replace the LED, too—they’re not built into the switches. Most commercial keyboards install the LEDs either above the switch, in a specially-formed hollow in the plastic of the switch’s case, or beneath it, directly onto the PCB itself and shining up through a transparent switch case. Here’s a look at the difference:

If your board uses LEDs mounted beneath the switch, you’re golden—just leave the current LED in place and install the new switch on top of it. If the LED is mounted above the switch, you’ll need to de-solder the original LED from the board to remove the switch, and re-solder it back in place when you’re done. If you’re careful, you can re-use the original one…but you might want to get a backup LED before you start, just in case.
Finally, if your keyboard uses switches with transparent plastic cases for the bottom-mounted LEDs, you’ll want to get replacement switches with transparent plastic, too. Otherwise the light will be…
The post How To Replace And Re-Solder A Mechanical Keyboard Switch appeared first on FeedBox.