Author: Cameron Summerson / Source: howtogeek.com
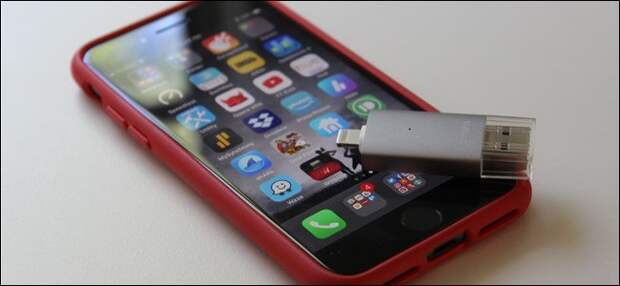
If you need more storage space on your iPhone, the easiest way to tack some on is with a special flash drive that features a lightning port on one end and a USB port on the other. You’ll use an app designed for that drive to actually manage files.
Unfortunately, there isn’t really a single way to manage flash drives on iOS.
Each brand of flash drive has its own, proprietary app for managing files. It’s pretty frustrating. Obviously, we can’t show you how to use every app for every drive out there. What we can do is give you an idea of the process works.The various apps and drives also share some of the same limitations. For example, transfers appear to be limited to photos, videos, and audio files. There doesn’t seem to be a way to move other types of files around, regardless of which drive or app you’re using.
For this guide, we’re using an Omars flash drive from Amazon ($43). This seems to be one of the most popular options, so if you haven’t yet purchased and are doing some preemptive research, then it’s a solid choice. Plus, you get the added benefit of having this guide to follow along with.
Alright, with that out of the way, here’s the skinny.
Step One: Get Your App
The first thing you’ll need to do is get the app for your flash drive. In our case, the app for the Omars is called Witstick.
If you’re not sure which app your flash drive uses, there are a couple of options. First, check the manufacturer’s documentation. If that doesn’t help, then you can plug the drive into the phone and it may prompt you to get the compatible app from the App Store, though this can’t be confirmed for all models.
Once you’ve figured…
The post How to Use a USB Flash Drive with Your iPhone appeared first on FeedBox.